
I was initially going to make this using an old photo frame, but I didn't have one and I wasn't feeling up to driving to the shops. So, I got even more creative and made the frame from scratch (with help from Dad of course), I like this because it has an interesting wood effect and goes well in my room. However, I will not be showing this part today, just imagine that the wooden frame is instead a normal photo frame (using a frame is much easier, all you need to to is find a frame and chuck away the back part of it). If you're not one to go all out and spend half a day trying to make a frame, then I recommend you simply use an old frame. I will start by showing you how I put the lace on and how I attached it to my wall (this is the easy part).
All you need is:
- A stapler and staples
- Fabric scissors
- A heavy book (to hold the lace down)
- About 30-40 cm of lace (depending on the size of your frame)
- 3 pins
- About 30 cm of string (also depending on the size of you frame)
Alrighty, let's begin...
- Start by measuring out the lace along the back side of your frame (you can add more or less, depending on what you fancy). Make sure you measure out extra lace-just in case-I didn't use a ruler, I simply used the length of my frame as my ruler.
- Once you have got the correct length, cut the lace (mine is cut into 2 pieces, however if you have skinnier lace you might want to cut it into 3 or 4 pieces).
- Turn the frame over, place the lace where you want it to go and pull it so it's reasonably tight (this is important, as you don't want the lace to hang down when the earring's are on it). This is when the book comes in handy, place the book on one side of the lace so it holds down while you staple the other side (make sure to keep pulling the lace tight).
- Staple as much as necessary, it doesn't matter how ugly it looks (mine looks mental) because no one will see the back any-ways, so just go crazy until it's nice and strong. Repeat this step on the other side of the frame as well as the other pieces of lace.
- Trim of any excess lace that sticks out the side.
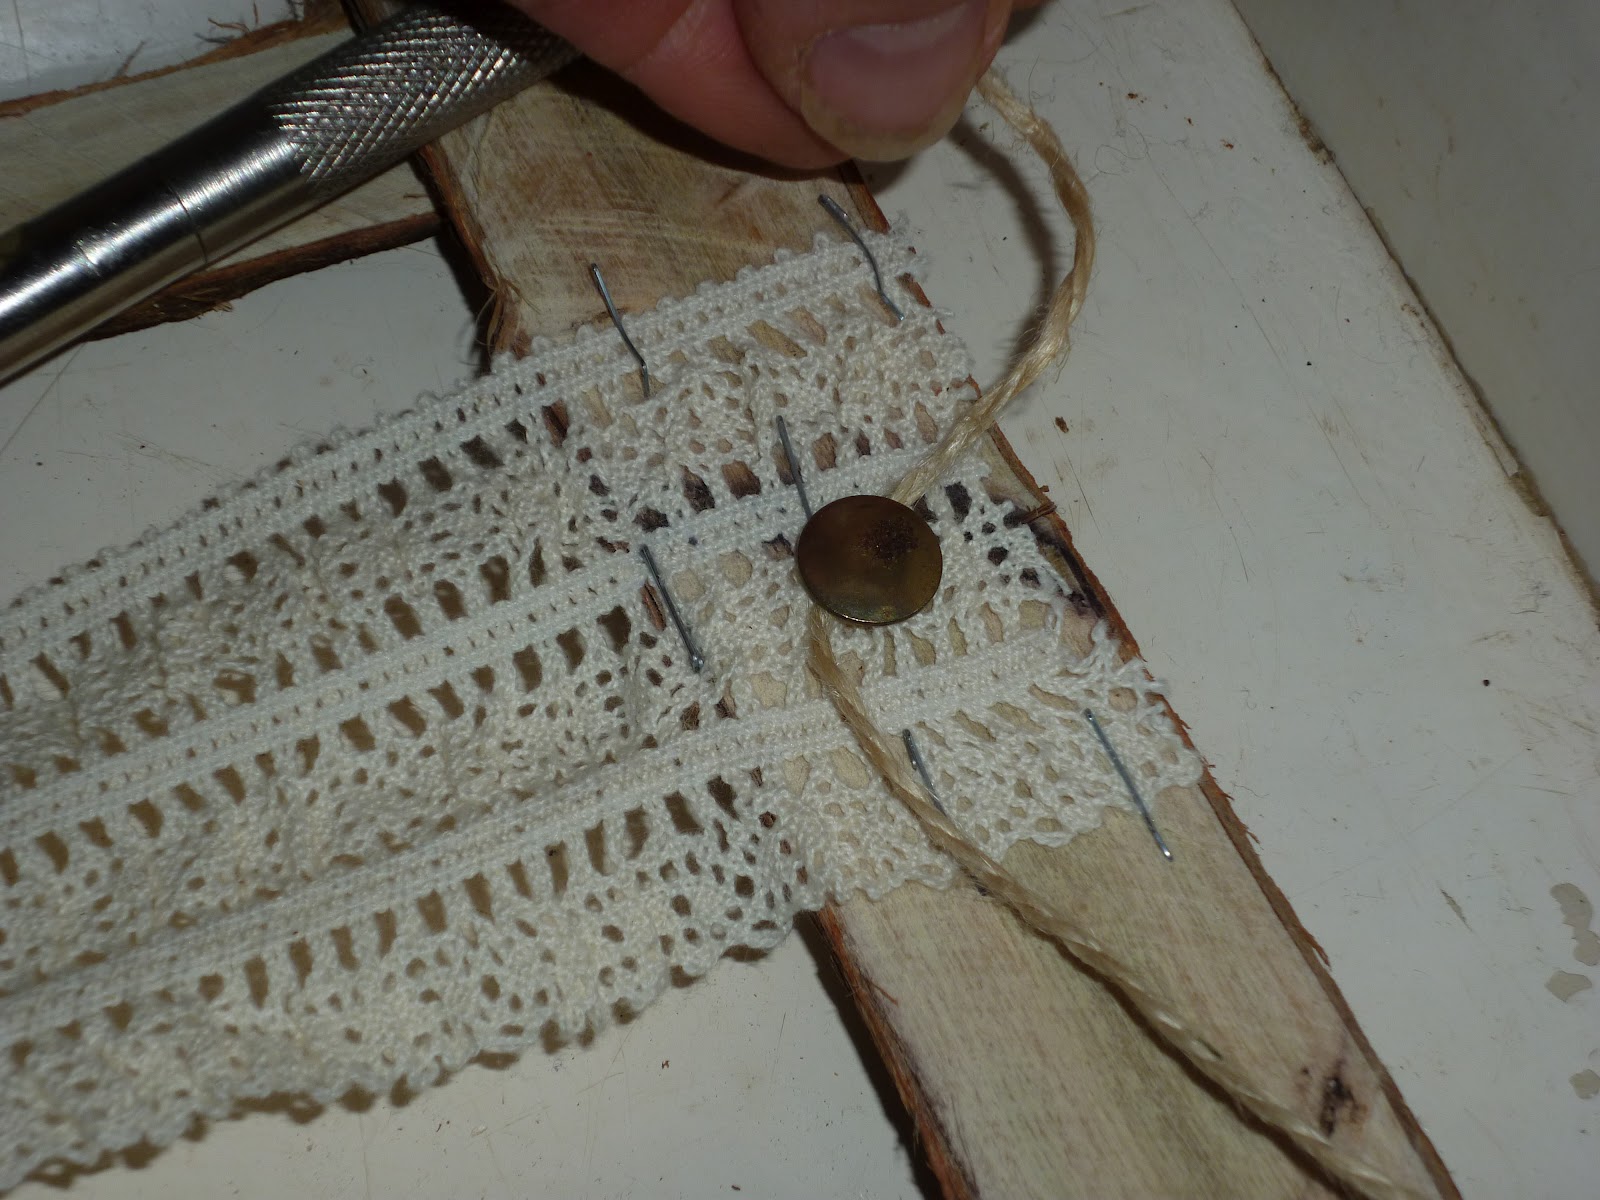
- Now we can hang it on the wall! Put 1 pin on either side of the back side of the frame (near the top), don't push it all the way in as we need room to tie the string around it. You can use a small hammer if the pins are difficult to push in.
- Tie the string around 1 pin a couple of times, then pull it over to the other pin (make sure the string isn't too tight as it needs to hang onto the wall), tie the string around the other pin a couple of time and then tie it in a not. Cut of any excess string you don't want to be seen.
- Now, pin the middle of the string onto the wall, make sure it's centre. You want to make sure it's pushed in tight so that it does not go wonky.
- This is the best part! Hang your favourite earring's on it and admire your hard work :)
P.S: If there's anyone who really wants to know how I made the wooden frame, just comment and let me know and I'll post it up :)
 |
| Step One |
 |
| Step Two |
 |
| Step Three & Four |
 |
| Step Five |
 |
| Step Six |
 |
| Step Seven & Eight |
 |
| Step Nine |


That's really cool!
ReplyDeleteBugger I don't have my ears pierced though.
Whaaaaat!? For reals...? I gotta take you to get them pierced, cause' I'm thinking I might get mine done again :) We can get them done together!
DeleteHaha! I can't be bothered taking care of them and last time I had an allergic reaction to the metal :(
Deleteoooh that sucks! Never mind then :P Haha
DeleteHaha! But I definitely think we should go jewelery shopping sometime :)
DeleteYes! That's a brilliant idea :D
DeleteI love this!!
ReplyDeleteGreat idea! Thanks for sharing!
ReplyDeleteIf you get a chance, check out and follow my blog!
Cheers,
Ellie
Thanks, I'll definitely have a looksie at your blog :)
Delete