Here's how it's done...
You need:
1. Chalkboard Paint
2. Mason jars
3. Sticky paper/clearasil
4. Scissors
5. Paint brushes
6. Chalk
7. Hair dryer
8. Vivid/felt tip pen
9. Methylated spirits/rubbing alcohol
10. Que tips
Before you start painting you need to remove the old labels first. It's simple. All you have to do is heat up the label using a hair dryer, you want to heat the label for a bout 3-4 minutes on the lowest pressure possible. Then it should easily peel off. Make sure you peel it off as soon as you stop heating it. You don't want to leave it to cool down otherwise it will be too hard to peel off and you will have to heat it up again. :/
 |
| 1 |
 |
| 2 |
 |
| 3 |
 |
| 4 |
 Now the label is removed. you will notice that there will still be a little stickiness from the label still stuck on there. All you have to do is soak the jar in some hot soapy water for about 5-10 minutes. Once soaked you can then go ahead and start scrubbing away with a sponge. If the glue is really tuff and STILL won't come off even after scrubbing for 10 minutes, then try rubbing 100% coconut oil on the jar with a little hot water. This should work straight away. You will be able to rub it of with a cloth (It's as simple as wiping away dust). Easy peasy! :)
 |
| Before |
 |
| After |
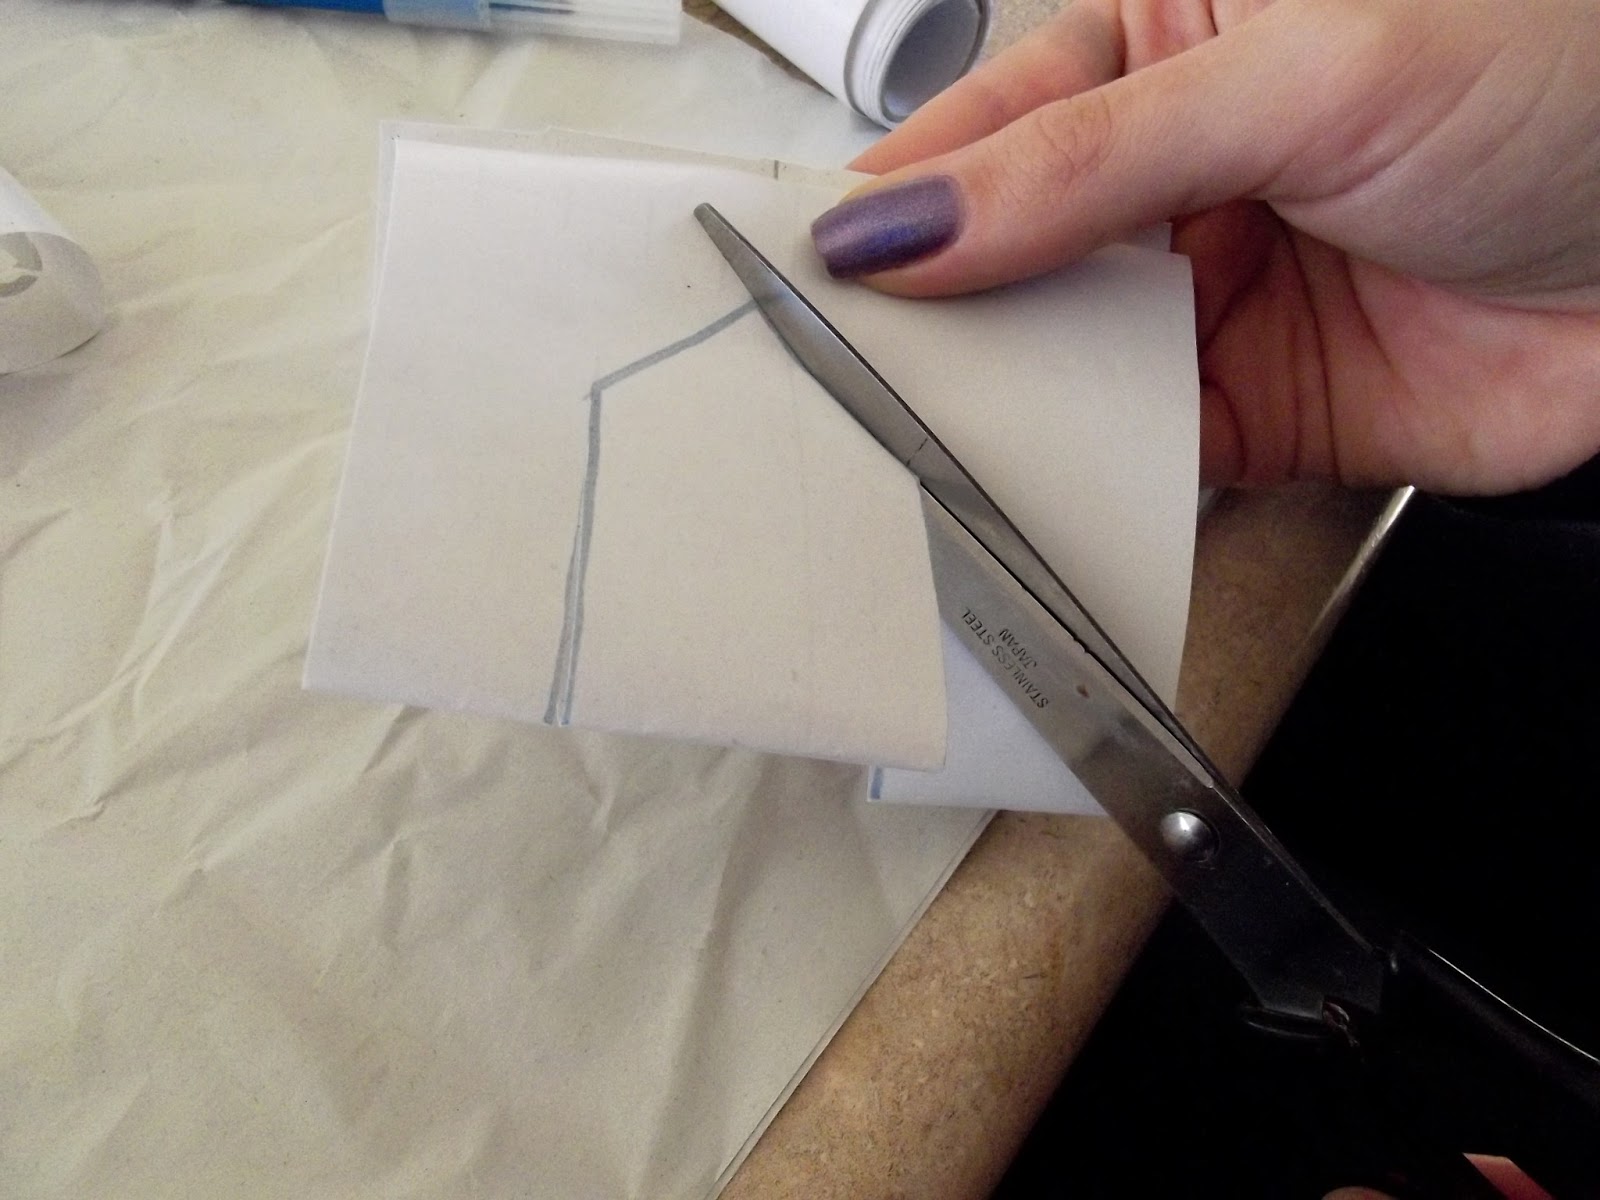
First, you need to draw and cut out a stencil.
 |
| 1 |
 |
| 2 |
 |
| 3 |
 |
| 4 |
 |
| 5- Use methylates Spirits or Rubbing Alcohol with a que tip to remove paint. |
 |
| 6 |
 |
| 7 |
And now we wait for the paint to completely dry for about 1 hour. Then you can go ahead and write whatever you want on the label. :)
You can use these labels on other jars for storing food etc or use them on your normal drinking glasses. Chalkboard paint is so useful and can be used for many things. I can't wait to use these at my engagement party! They are super cute and my guests will never lose their jar! :)
Thanks for checking out my blog. x
Here is my Youtube tutorial on this project...


No comments:
Post a Comment