Last week I created these neat shelves using old wooden beer crates. I found a bunch of these crates under the house and thought I should do something useful with them, instead of letting them rot away. So I turned them into shelves!
I firstly had to clean the crates, they were covered in cob webs and dirt...
Then I was able to paint them, I decided to white wash them because I wanted the "ABC" logo to show through. I wanted to keep it the way it was, I like it's originality and rustic look it gives!
After the crates dried I then screwed them to the wall. Make sure you screw the crates into the wood behind the wall, you don't want it just going through jib, otherwise the crates will not be strong enough to hold anything, especially books.
And that's it! Easy peasy! I'm so pleased with the turn out and it only took about 2 days to complete. :)
Hello Everyone! Today me and my best friend decided to make these super cute chalkboard labels! We used mason jars to put the labels on so that they could be used at Bill and I's engagement party. I found this idea from pinterest and when I saw it I knew I HAD to make them! They are so cute and it's so much fun making them, especially when you have your best friend helping you. :)
Before you start painting you need to remove the old labels first. It's simple. All you have to do is heat up the label using a hair dryer, you want to heat the label for a bout 3-4 minutes on the lowest pressure possible. Then it should easily peel off. Make sure you peel it off as soon as you stop heating it. You don't want to leave it to cool down otherwise it will be too hard to peel off and you will have to heat it up again. :/
1
2
3
4
Now the label is removed. you will notice that there will still be a little stickiness from the label still stuck on there. All you have to do is soak the jar in some hot soapy water for about 5-10 minutes. Once soaked you can then go ahead and start scrubbing away with a sponge. If the glue is really tuff and STILL won't come off even after scrubbing for 10 minutes, then try rubbing 100% coconut oil on the jar with a little hot water. This should work straight away. You will be able to rub it of with a cloth (It's as simple as wiping away dust). Easy peasy! :)
Before
After
Once they're dried, you can start making and painting the labels.
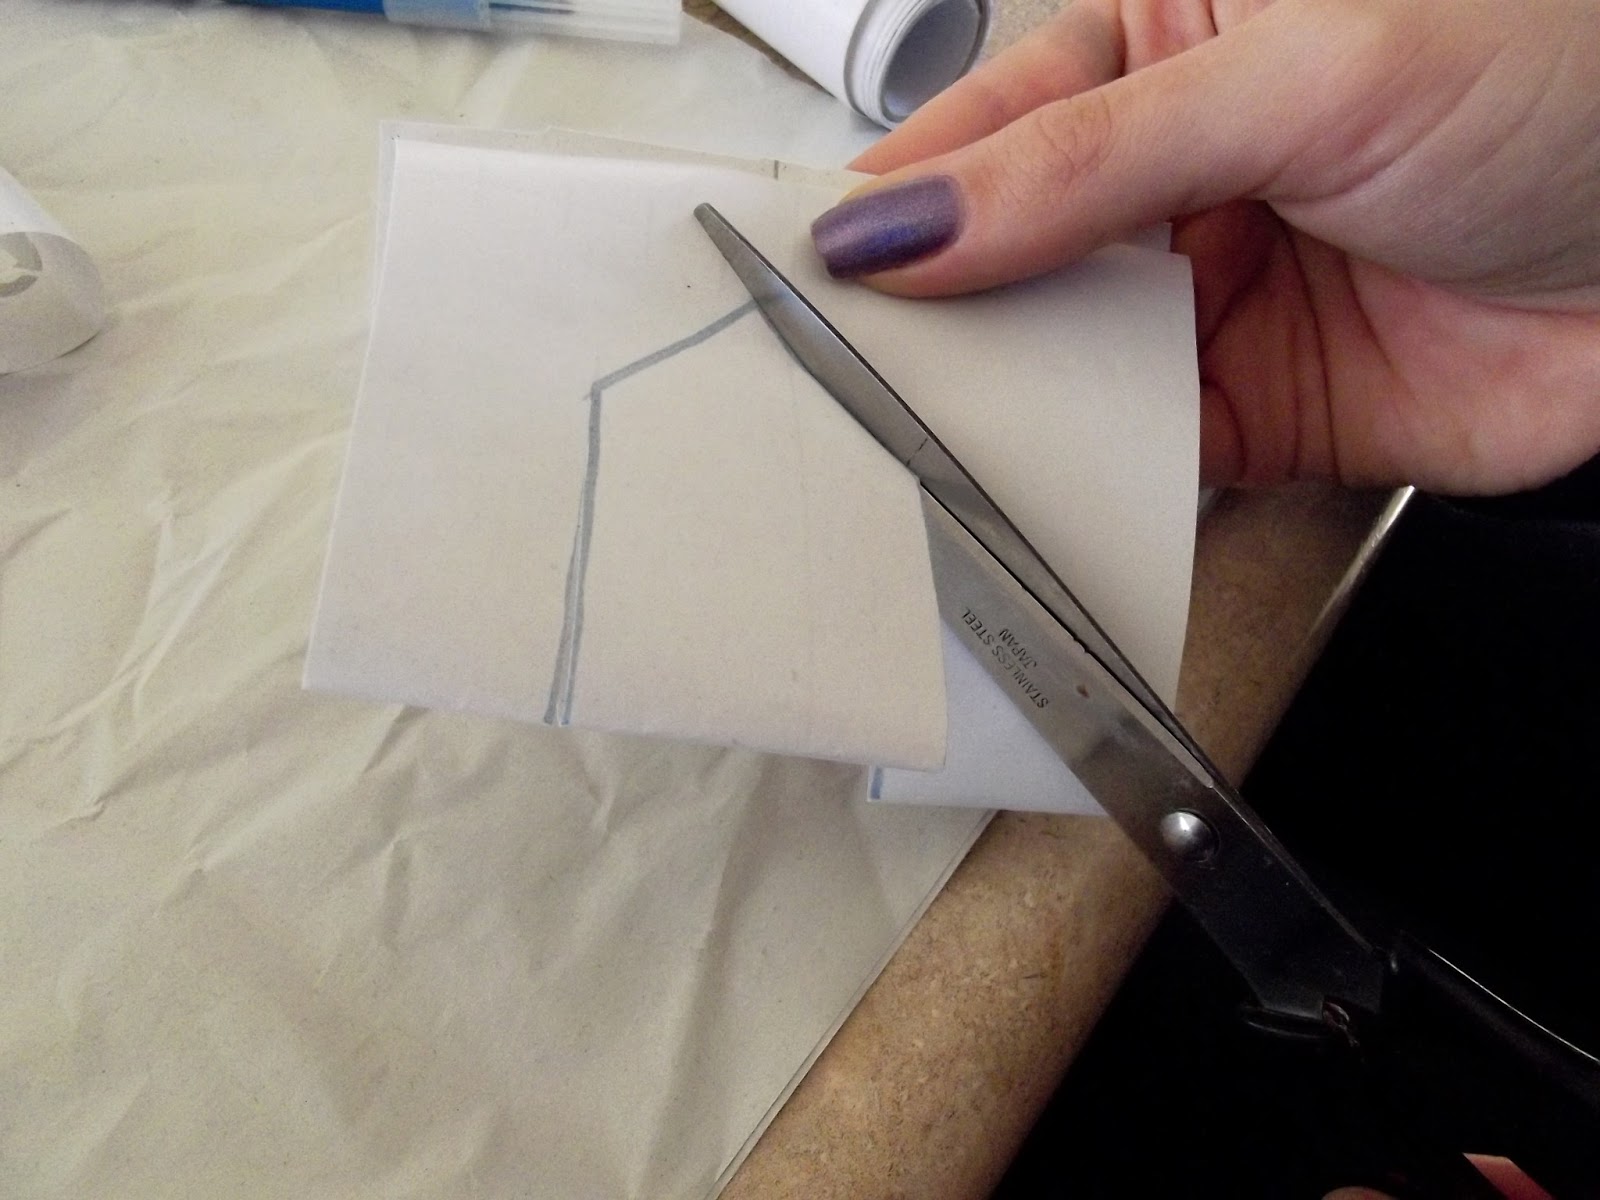
First, you need to draw and cut out a stencil.
After you have painted the inside the stencil, wait 1-2 hours before applying another coat of paint. Once the second coat is applied you can carefully remove the stencil.
1
2
3
4
5- Use methylates Spirits or Rubbing Alcohol
with a que tip to remove paint.
6
7
And now we wait for the paint to completely dry for about 1 hour. Then you can go ahead and write whatever you want on the label. :)
You can use these labels on other jars for storing food etc or use them on your normal drinking glasses. Chalkboard paint is so useful and can be used for many things. I can't wait to use these at my engagement party! They are super cute and my guests will never lose their jar! :)
Today I have made these fun boho feather decorations! They are super easy and are a fun thing to do to pass time. If you would like to learn how I made these then just scroll down...
You will need:
1. Acrylic Paint
2. Brushes
3. Paint palette
4. Feathers
5. Scissors
6. Jar of water
7. String
8. Paper towel
Now you can begin painting! I started with a dark red colour at the bottom and blended it into a yellow at the top. This part is really easy, you can paint the feathers whatever colour you prefer :)
Once dried, you can go over the feather with different tribal patterns, I like to use either white or black paint for this part as it stands out better!
Continue Painting other feathers! :) Once done, you can tie string to the ends of the feather.
Now just leave to dry! You can use these feathers, not just for decoration but to accessorise as well :)
Thank you so much for checking out my blog!
If you would like to see my YouTube tutorial on this then just click here...
I have spent today making these cute, little Rose tea light candles. They are so fun and easy, and because they are electric candles, not flame, they are safer and last longer!
If you wish to learn how to make these then just scroll down :)
What you will need:
-Fake roses
-Electric Tea Light Candles
-Hot glue and glue gun
-Scissors
Step One:
Pull the flower heads off of the stalks and pull apart the flowers until they are just petals. (It's better to buy fake flowers that are not already glued together). Now cut the petals into separate pieces.
Step Two:
Now heat up your hot glue gun, dab a pea size of hot glue on the bottom of the petal and hold it against the candle so that it sticks well. Continue to add petals around the candle (I glued 4 petals on the first layer, then 3 on the second layer.) You can add as many layers as you want, I wanted mine to be a little more simple so I only applied two layers of petals.
Step Three:
Step three is optional. Cut some leaves off the stalks to add to the outside of the flower candle. I added two leaves on each. Just do the same with the leaves as you did in step 2, add hot glue and hold onto candle. But be careful, as the glue can burn your skin.
Now Light it up!
You can display your tea light candle anywhere, in the bedroom, bathroom or dining area! Turn on the switch and it's ready to go! I love this idea, it's simple, adorable and is easy and cheap to make!
Thanks so much for checking out my blog! I love all my viewers :)
Please subscribe ♥
If you would like to see the video of this tutorial, just lick here...
Today I have created something simple, easy and super fun :) A bracelet holder... I find this way of organising your bracelets very easy, as they aren't difficult to get to, it also looks adorable on my dresser alongside my other jewellery holder creations! Okay dokay, let's begin... What you will need: 1. A mug holder (you may have one lying around at home, if not check out your local charity shop-I got mine for just $2- you can find these mug holder's pretty much at any second hand shop.) 2. Acrylic paint in any colour you wish (I mixed an off white with red to make a pale pink.) 3. A couple of paint brushes of different sizes. 4. A jar of water to clean your brushes. 5. A jar or paint pallet to mix your paint colour on. 6. And a rag or old towel to clean up any mess (make sure you have some old clothes on for this as well, you don't want paint stains on your nice clothes :/)
The steps are pretty simple and self explanatory... mix up your paint and then paint it :) You will have to do at least two coats, it will take an hour or two for the first layer of paint to dry before you can start on your second coat. You don't want to paint over semi-dried or wet paint because the brush will just take that layer of paint off and it will just look messy! So it's better to have some patience and wait until the first coat is completely dry.
Yay! Now that it's dry you can put your favourite, or if you like, ALL of you bracelets on your refurbished hanger :) This is so simple and easy! I totally recommend this as it makes your bracelets easily accessible and it looks really cute on a dresser or desk!