Friday, 30 August 2013

DIY - Beer Crate Shelves

Last week I created these neat shelves using old wooden beer crates. I found a bunch of these crates under the house and thought I should do something useful with them, instead of letting them rot away. So I turned them into shelves!

I firstly had to clean the crates, they were covered in cob webs and dirt...

Then I was able to paint them, I decided to white wash them because I wanted the "ABC" logo to show through. I wanted to keep it the way it was, I like it's originality and rustic look it gives!

After the crates dried I then screwed them to the wall. Make sure you screw the crates into the wood behind the wall, you don't want it just going through jib, otherwise the crates will not be strong enough to hold anything, especially books.

And that's it! Easy peasy! I'm so pleased with the turn out and it only took about 2 days to complete. :)


Tuesday, 20 August 2013

Lost in City Wonders

Hey everyone! Last weekend my Fiancé and I went to the city for a weekend away together. being so busy with work and a house full of people we were desperate to get away for a little while, and we definitely deserved it!

It was so much fun! We ended up booking into a Hotel in central Auckland for only half the price by using a special discount we found on Grabone.co.nz. Then, we found another discount on the same website for this amazing restaurant called 'Limon', they had delicious food and it was right on the water front!

Even though it was raining that Saturday we still had an amazing time! (Sunday made up for the bad weather, it was super sunny!), After dinner we decided to go see a movie "We're The Millers"... and Ohhh my goodness, it is hilarious, I did not stop laughing throughout the entire movie! I recommend you guys go see it! :) We had to wait half an hour before the movie started so we wasted time by playing on the gaming machines, where I won myself a Minion! Yes! That's right, a Minion from Despicable Me. I was super happy, I have wanted one for so long and finally my dream came true! That was definitely a highlight for me that night! :)

Sunday morning... we had a scrumptious buffet breakfast for free! We woke up extra early just so we could get there in time for all the fresh goodies. :) Later, we went for a walk just roaming through the city. We went to a few Japanese Dollar stores just for fun, they have some fun things and also some great beauty products as well! Then we went to Farmers and I bought myself two of Maybelline's 24HR Color Tattoo's in the colours Barely Branded & Tough as Taupe, they were only $16.50 each!


For lunch we went to this yummy Korean restaurant where you cook your own food on a small barbecue that they have built into your table. I thought that was such a neat idea and the food was delicious! It was kind of like a buffet and was only $20 per person! :D


After stuffing our faces with scrumptious BBQ, we decided to go get some ice cream. I got Watermelon sorbet and Bill got Pistachio ice cream, which was amazing! We then walked down to the waterfront, and there just so happened to be a market! It was Auckland's Tourist Market. There was tonnes of food there that it smelt delicious but Bill and I were too full of BBQ and ice cream to eat any more! But we did however get our portraits drawn by this amazing, talented man named Barry Hollands. We only had to sit still for about 2 minutes and from there he drew our portraits. It took him about 30mins-1hr to complete the drawing and I filmed the entire thing! Barry has been drawing for over 20 years and just started up his stall at The Auckland Tourist Markets, however he is always at the Waiheki Markets in the weekends. He is a very talented, funny and happy man! We will definitely be visiting him on Waiheki another time and most likely getting our portrait done again! Thanks so much Barry C. Hollands for the wonderful drawing, you're a very talented man!

And that concludes our weekend away. We caught the bus home at around 4:15pm, I fell asleep for most the ride :p

I had so much fun last weekend, just relaxing and discovering neat little places and people! When you're stressed or need a break it's okay to splash out on a weekend away and spend some time with your hubby! :)


Some Photo's from our Adventure...


Saturday, 20 July 2013

DIY - Mason Jar Chalkboard Labels

Hello Everyone! Today me and my best friend decided to make these super cute chalkboard labels! We used mason jars to put the labels on so that they could be used at Bill and I's engagement party. I found this idea from pinterest and when I saw it I knew I HAD to make them! They are so cute and it's so much fun making them, especially when you have your best friend helping you. :)

Here's how it's done...

You need:
1. Chalkboard Paint
2. Mason jars
3. Sticky paper/clearasil
4. Scissors
5. Paint brushes
6. Chalk
7. Hair dryer
8. Vivid/felt tip pen
9. Methylated spirits/rubbing alcohol
10. Que tips

Before you start painting you need to remove the old labels first. It's simple. All you have to do is heat up the label using a hair dryer, you want to heat the label for a bout 3-4 minutes on the lowest pressure possible. Then it should easily peel off. Make sure you peel it off as soon as you stop heating it. You don't want to leave it to cool down otherwise it will be too hard to peel off and you will have to heat it up again. :/

1
2
3
4

Now the label is removed. you will notice that there will still be a little stickiness from the label still stuck on there. All you have to do is soak the jar in some hot soapy water for about 5-10 minutes. Once soaked you can then go ahead and start scrubbing away with a sponge. If the glue is really tuff and STILL won't come off even after scrubbing for 10 minutes, then try rubbing 100% coconut oil on the jar with a little hot water. This should work straight away. You will be able to rub it of with a cloth (It's as simple as wiping away dust). Easy peasy! :)


Before

After
Once they're dried, you can start making and painting the labels.

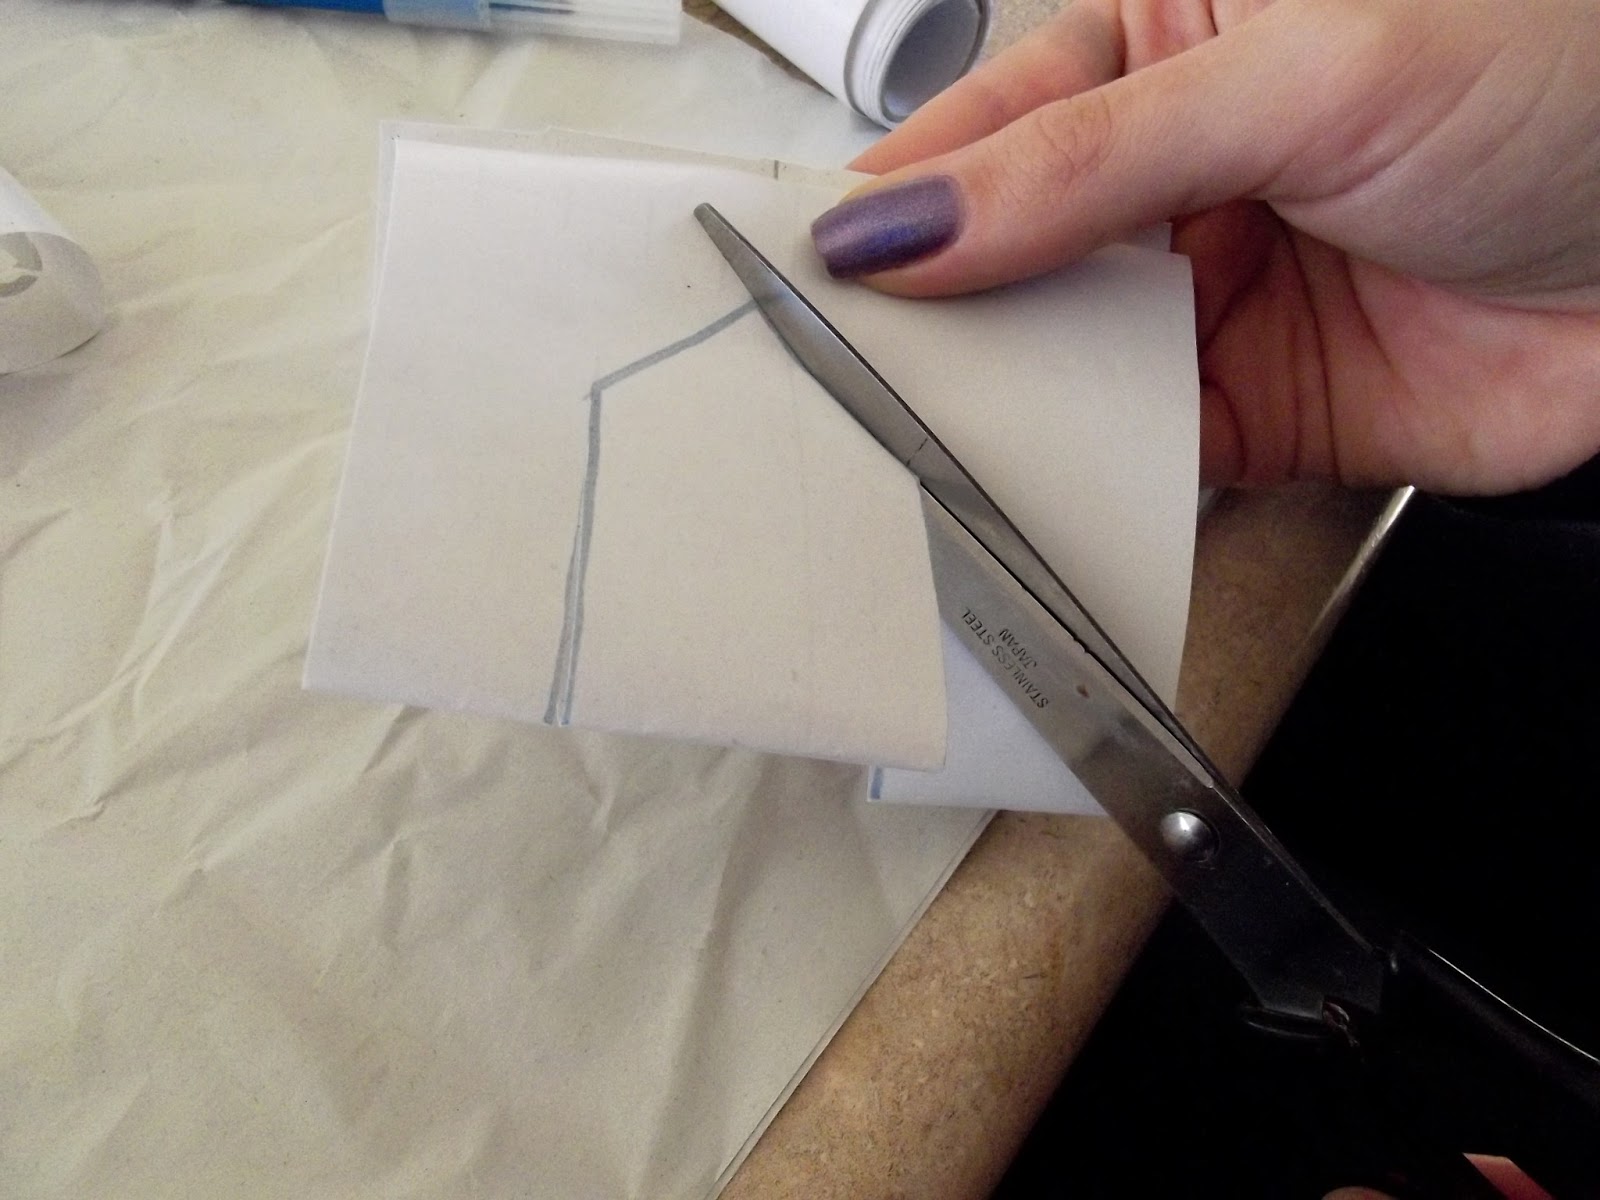
First, you need to draw and cut out a stencil.


After you have painted the inside the stencil, wait 1-2 hours before applying another coat of paint. Once the second coat is applied you can carefully remove the stencil.

1
2
3
4
5- Use methylates Spirits or Rubbing Alcohol
with a que tip to remove paint.
6
7
And now we wait for the paint to completely dry for about 1 hour. Then you can go ahead and write whatever you want on the label. :)


 You can use these labels on other jars for storing food etc or use them on your normal drinking glasses. Chalkboard paint is so useful and can be used for many things. I can't wait to use these at my engagement party! They are super cute and my guests will never lose their jar! :)

Thanks for checking out my blog. x

Here is my Youtube tutorial on this project...


Monday, 24 June 2013

Engagement!


Hey Everyone,

It has been 7 months already since Bill and I got engaged, I should have made a post about this ages ago, but I never really got round to it. We have only just organised our engagement party! The reason it took me so long to get around to it, was because at the time we got engaged it was exam time at school and I was focusing on study! Then Summer came and I spent every minute outdoors and on holiday. So now it's winter and we are FINALLY getting things sorted. 

Below are our engagement invites that we made, also some ideas and inspiration for our engagement party! Enjoy. x


I simply created the invites using Microsoft Word, I downloaded the boarder from google images and printed them out on different types of paper. I want to make sure that my theme is shown strongly at our engagement party and carried through onto our wedding day. Our theme is going to be vintage/shabby chic/beach themed.

I used some really pretty textured paper with flower petals pressed into it.


I am really looking forward to the day of our Engagement party! Here is some inspiration I have found for the day.


All these ideas could also be used on the day of the wedding as well.

All inspiration found from pinterest...http://pinterest.com/abby3lizabeth/wedding-ideas/

Here is the video of our engagement  He Surprised me at our High School graduation. So sweet! Sorry, in advance, for the bad quality of the video.


Thank You. x